
You can integrate BookFunnel with Zapier and then connect to many other services.
This article describes how to create an integration from BookFunnel to Zapier. For information on sending data to BookFunnel from another service using Zapier, read this.
Step 1: Create a Zap Key
To add Zapier to your BookFunnel account:
- Click Integrations on your BookFunnel dashboard.
- Click Action and select +Add Integration.
- Select Zapier in the dropdown menu.
- Click Create BookFunnel Zap Key.
- Your zap key has been generated.
- Copy your zap key to your clipboard for a future step.
By default, your new zap key is connected to all of your author pen names.
Click Edit next to your new Zapier integration to select only the pen names that should be included. Remember to save your changes.
Step 2: Create or Edit an Email Signup Page
Before you jump to Zapier, create some test data so that your zap can be tested quickly. You’re going to integrate one of your BookFunnel signup pages with Zapier and sign up for it:
- Select an existing email signup page or create a new email signup page on BookFunnel.
- Under Integration List on the landing page, choose your Zapier integration in the dropdown menu.
- Click Save and close.
- Click the link to your email signup page on BookFunnel and sign up for it.
- Once you have submitted your email (and optionally confirmed), you’re ready to move over to Zapier.
- You’ll need to return later and edit any other landing pages that you want to send to Zapier.
Step 3: Add BookFunnel to Zapier
- Click My Apps on Zapier.
- Search for BookFunnel.
- When asked Allow Zapier to access your BookFunnel account? , paste your BookFunnel Zap Key.
- Click Yes, Continue.
- BookFunnel will now be listed under My Apps.
Step 4: Make a BookFunnel-to-Anything Zap
- Click Make a Zap.
- Select BookFunnel.
- Set the trigger to be New Subscriber.
- Click Continue.
- Select your account or add a new account and click Continue.
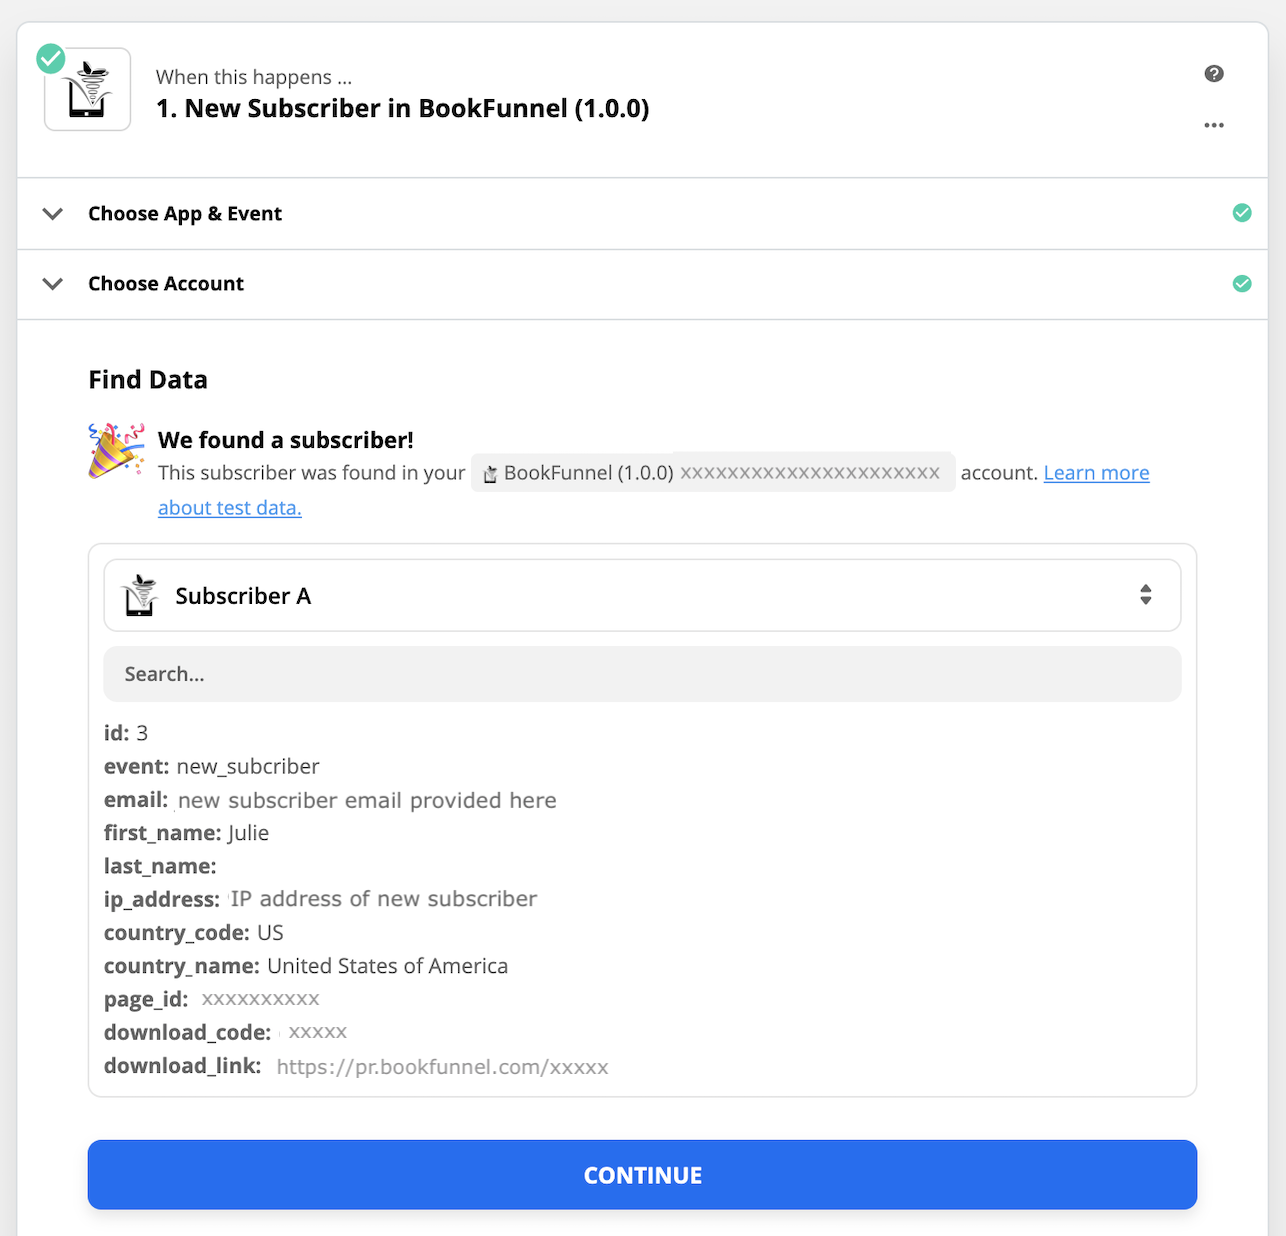
- Click Test Trigger.
- Your test email address should appear along with the other opt-in data (details below).
- Click Continue or the + to design your new zap and send readers where you need them to go.
Data We Will Push to Zapier
BookFunnel will send new subscriber data to Zapier.
This means that an email signup page that requires opt-in will send readers to Zapier. An email signup page with optional opt-in will only send readers to Zapier if they consented to join your mailing list.
This data is sent to Zapier when a new subscriber signs up through one of your BookFunnel email sign up pages:
- event: new_subscriber
- first_name (if your email signup page requires it)
- last_name (if your email signup page requires it)
- ip_address – The IP address of the reader at the moment they subscribed
- country_code
- country_name
- page_id – This is the ID of the email signup page the reader subscribed through on BookFunnel
- download_code – This is the unique BookFunnel App code generated for this subscriber
- download_link – This is the unique download link generated for this subscriber
These pages will not send reader data to Zapier:
- Non opt-in email signup pages
- Optional opt-in email signup pages (when a reader does not consent)
- Restricted landing pages
- Simple download pages
Retrieve your BookFunnel Zap Key
Your key is saved on your Integration. To locate your BookFunnel Zap Key:
- Click Integrations on your BookFunnel dashboard
- Click Edit next to your Zapier integration
- Copy the zap key to your clipboard
Custom Mailing List Fields
Custom fields are not supported when sending new subscriber data to Zapier.
Page_id is unique to the opt-in page on BookFunnel. If you need to segment readers on Zapier, you can use the page_id to sort readers by opt-in page.